PLASTPOL (21-24.05.2024)
28th International Fair of Plastics and Rubber Processing PLASTPOL


Konica Minolta Sensing Europe B.V., Sp. z o.o., Oddział w Polsce
- UL. SKARBOWCÓW 23A, 53-025 WROCŁAW, Poland
- +48 71 734 52 11
- info.poland@seu.konicaminolta.eu
- www.konicaminolta.pl
Description
• Outstanding measurement accuracy and repeatability
• Compact, lightweight and ergonomic design
• Japanese precision and reliability
Download
-
CM-25cG.pdffile size: 964.97 KB
-
CM-26dG.pdffile size: 1.38 MB
-
CM36dGseries.pdffile size: 611.47 KB
-
CM-700d-600d.pdffile size: 2.58 MB
-
CF-300.pdffile size: 3.82 MB
-
CM-5.pdffile size: 3.00 MB
Products
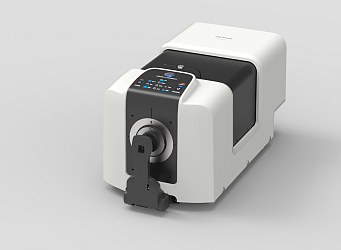
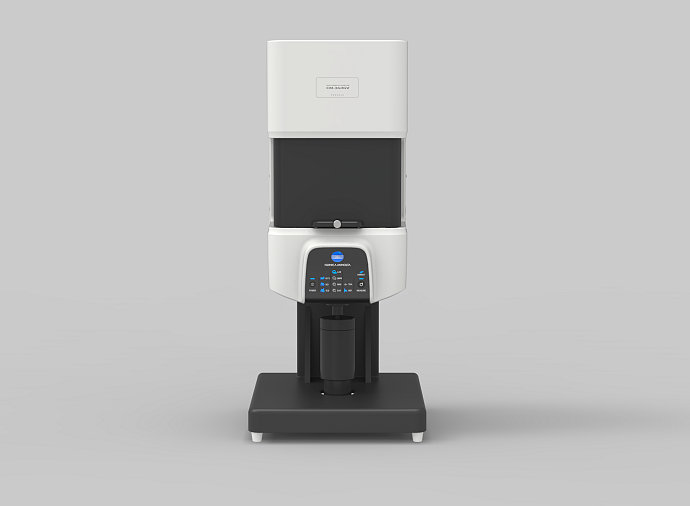
The CM-36dG spectrophotometer is equipped with four measuring apertures with diameters of 4.0, 8.0, 16.0 and 25.4 mm, allowing the measuring area to be adapted to each sample.
Reflectance and transmission mode measurements in a horizontal or top-ported arrangement
The CM-36dG spectrophotometer is capable of measuring solid and liquid samples in reflectance or transmission mode, in either a horizontal or top-front orientation. This makes it possible to measure a wide variety of samples, from opaque to translucent and transparent. The large, extendable transmission measurement chamber allows for easy measurement of translucent or transparent samples of different sizes.
Preview camera for precise sample positioning
The integrated viewing camera provides a clear image of the sample, enabling precise positioning and control of the measurement area. The spectrophotometer software can record images of the measured area, thus providing detailed and uniform measurement reports.
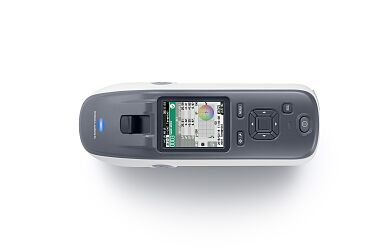
• Sample observation port: illuminated sample positioning window allows the operator to accurately and repeatably position the measurement aperture
• Large colour display: simple user interface minimises the risk of operator errors and measurement data is displayed both numerically and graphically
• Rechargeable battery: lithium-ion battery is charged via USB bus power and additional batteries can be charged with external charger (optional)
• Configuration Software: compatible with the CM-CT1 software that allows an administrator to quickly configure multiple instruments, lock device settings and perform remote troubleshooting and training over screensharing software
• Close tolerance by default: maximise the accuracy and certainty of digital colour data throughout the supply chain, confident that all measurement data is traceable
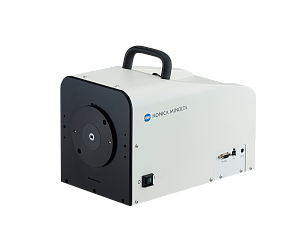
- Non-contact measurement area either 8mm or 1 x 0.75mm
- Compatible with camera connection for precision or automated alignment, ideal for system integration and accuracy on super fine 1mm details
- Measure upto 5 times a second
- Colour data that correlates with other sphere based spectrophotometers


